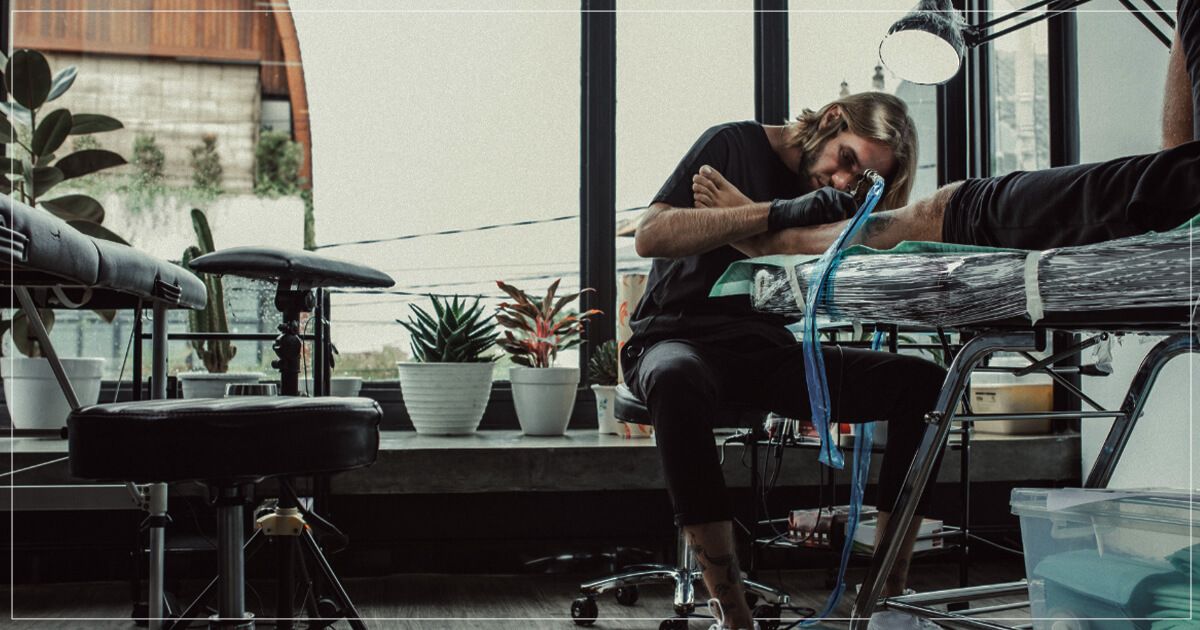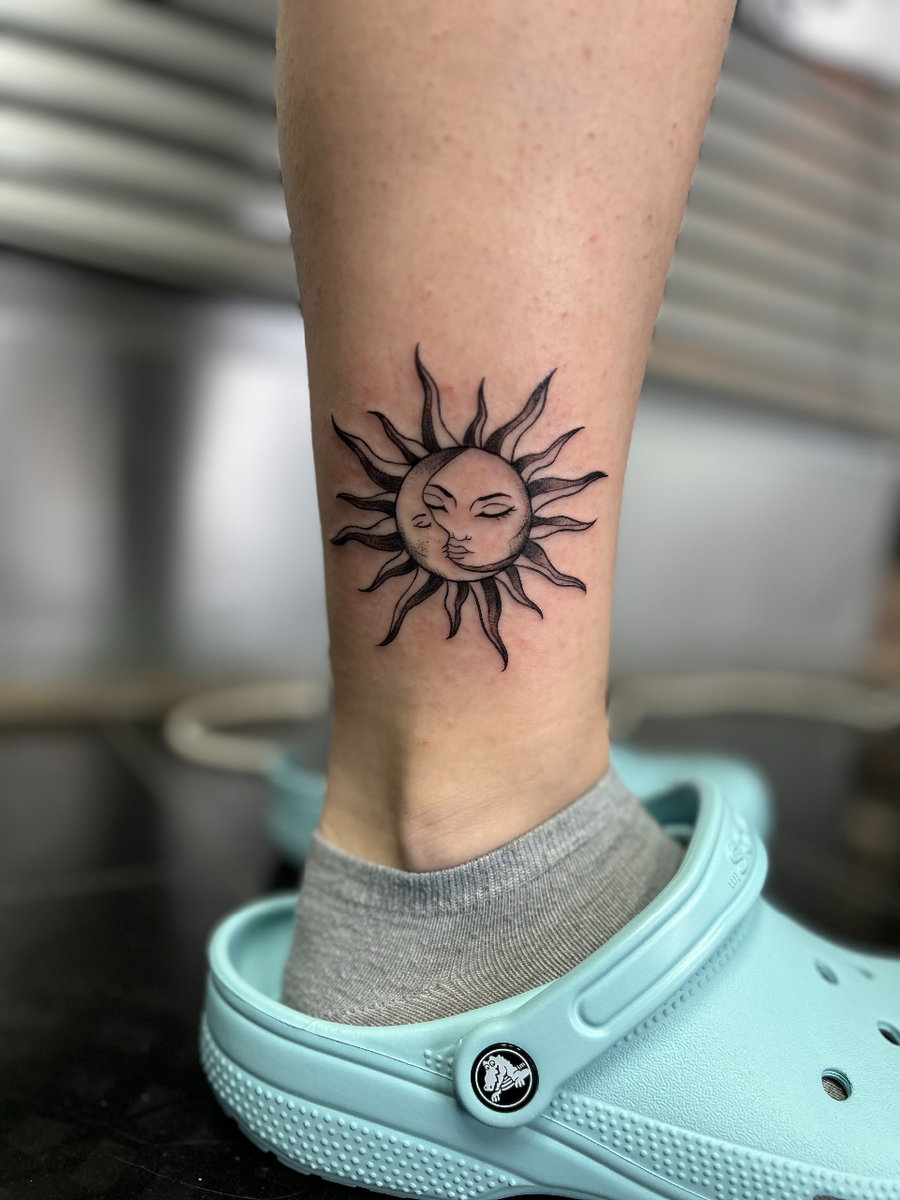
Congratulations on your new ink! You've done the hard part, selecting your design and sitting through the session. But the work’s not over: now, it’s up to you to keep your tattoo looking vibrant and healthy.
It’s totally normal to feel a mix of excitement and nervousness about tattoo aftercare, especially if it’s your first. We know there's a lot of aftercare advice out there, and it can all be a bit overwhelming.
In this blog post, we'll guide you through tattoo aftercare step-by-step to make sure your ink heals as bright and beautiful as the day you got it.
Think about it: in just a few weeks, you'll look at your healed tattoo and be glad that you made the effort.
+ GET IN TOUCH TO BOOK YOUR NEXT SESSION AT PERFECT IMAGE NOW
THE FIRST 24 HOURS: AFTERCARE FOR BRAND-NEW INK
Here’s what you need to know right after getting a tattoo.
Remember: this is the time when your skin is most sensitive. You can’t cut corners in tattoo aftercare. But if you do it by the book, everything should go smoothly.

1. REMOVING THE BANDAGE
Right after your session, your artist will cover your fresh ink with a bandage. This isn't just a regular bandage — it's your tattoo's first line of defense against everything that could hinder healing.
Here's why that bandage matters:
Protection from Bacteria. The world's full of germs, and a fresh tattoo is like an open invitation for them. The bandage keeps those unwanted guests out, reducing the risk of infection.
Reducing Friction. You don’t want your tattoo to rub up against your clothes or bed sheets just yet. Friction can irritate your skin and mess with the ink settling in. The bandage helps to act as a buffer zone.
Keeping Things Clean. Fresh tattoos can ooze a bit — ink and a little blood. It's normal, but you don't want that on your clothes. The bandage absorbs these fluids, saving you from extra laundry and stains.
How long should this bandage stay on? That depends on what your tattoo artist recommends. It could be a few hours or a few days.
But there’s an important catch: if the bandage leaks or starts peeling off, it's time to remove it. Even if it’s just a tiny gap. Bacteria can get in, and at that point, the bandage can do more harm than good.
2. CLEANING YOUR TATTOO
So, you've just removed your bandage – it's time for the first wash. This is important, and you'll be doing it daily, depending on how much dirt and grime your tattoo gets exposed to.
Here’s how to clean your tattoo properly:
Wash Your Hands First. And we mean really wash them, with soap and warm water. Even if your hands look clean, they could be carrying bacteria, and you don't want that anywhere near your new ink.
Dry Your Hands Carefully. You can either air-dry your hands, use disposable paper towels, or a towel you know for sure is completely clean. Never wipe your hands on a used towel or your clothes, because that just picks up new bacteria.
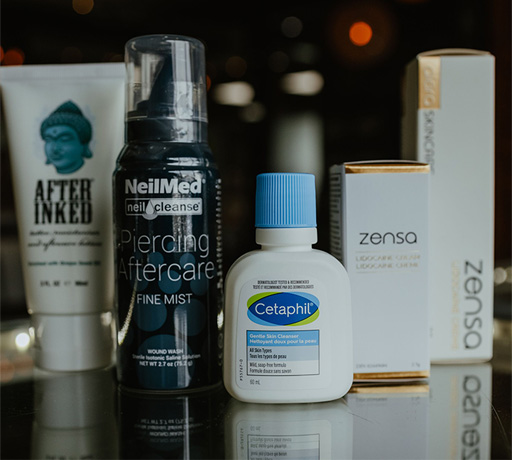
Gently Apply a Mild, Unscented Cleanser. Be gentle – treat your tattoo like a newborn baby. We recommend using a mild, unscented soap like Cetaphil® Gentle Skin Cleanser. With clean hands, dispense a small dab of Cetaphil® and gently rub it over your tattoo for about 30 seconds.
Rinse with Lukewarm Water. Be like Goldilocks – not too cold, not too hot. You want the water to be warm enough to help clean your tattoo without causing any discomfort. Hot water can increase the risk of irritation, and it can also cause the pores to open too much and leak ink. While cold water won't necessarily hurt your tattoo, it's less effective for cleaning as it doesn't open the pores.
Let Your Tattoo Dry. Air-drying is the gold standard here to avoid any bacteria transfer, but if you’re in a hurry, you can gently dab your tattoo dry using a clean, disposable paper towel.
When you get a tattoo with us, we send you home with a bottle of Cetaphil® as part of our tattoo aftercare package. We want to make sure you're all set for a great start to healing your new tattoo.
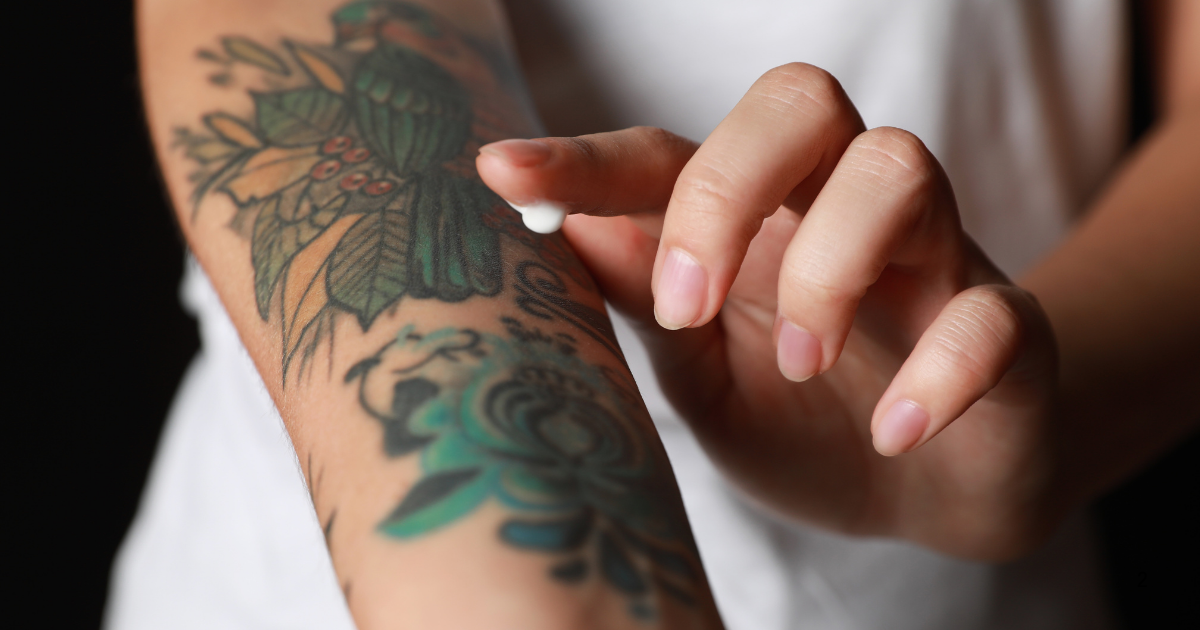
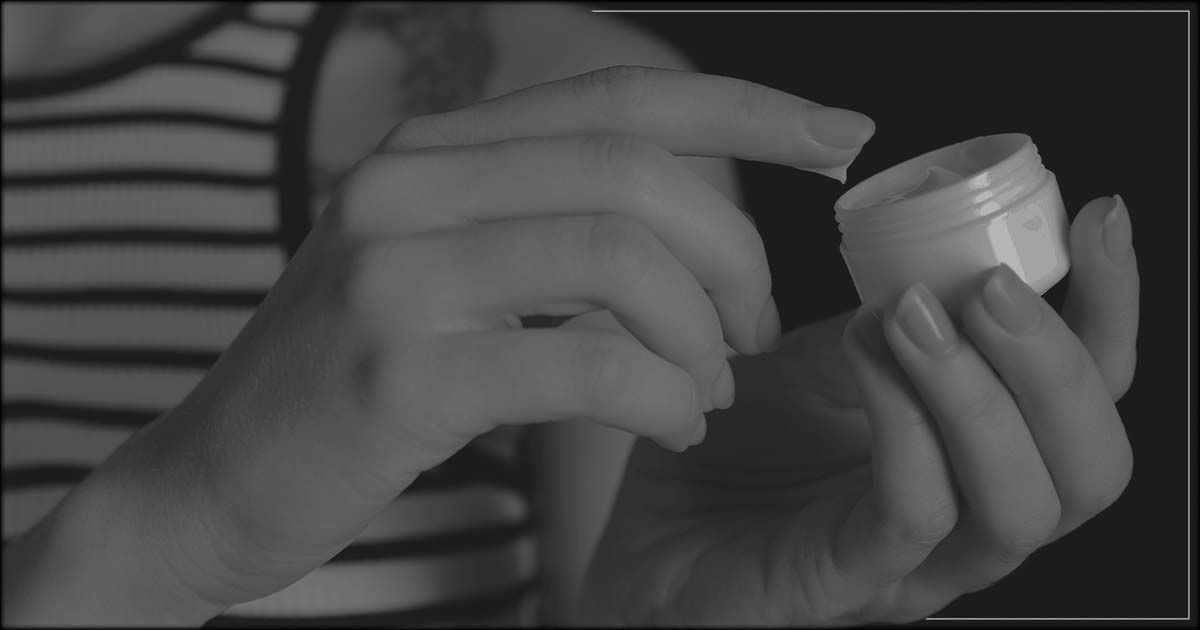
3. MOISTURIZING YOUR SKIN
After a couple of days, once your tattoo is nice and clean, apply moisturizer. Skin that is healing can become dry and itchy, so a good moisturizer can make the healing process smoother and more comfortable.
The key is to not overdo it. Just a little goes a long way. Too much lotion can clog pores and create a breeding ground for bacteria.
Gently apply a thin layer over your tattoo, rub it in, and then dab off any excess with a clean, disposable paper towel. Do this as needed. And just as with washing your tattoo, you’ll want to do it with clean hands.
We swear by After Inked™ for the healing journey. It's made just right for tattoo care – no parabens or fragrances. Plus, it's not petroleum-based, so it's friendly for all skin types. And we love that it's cruelty-free.
If you’re with us, you don't have to worry about finding this product. Every Perfect Image location sends you home with a bottle of After Inked™ along with Cetaphil® in our aftercare package. Because we want your new tattoo to stay as bright and beautiful as the day you got it!
KEEPING YOUR HEALING INK VIBRANT AND HEALTHY
Now that you're past the first crucial steps of tattoo care, it's time to focus on the healing journey.
This is where your dedication really shines through. By continuing the great care you've already started, you're on your way to a beautifully healed tattoo.
Here's a straightforward guide to keep you on track during this healing phase.
1. STICK TO THE CLEANING ROUTINE
Keep up with cleaning your tattoo. This is just as important now as it was on day one. A clean tattoo is a happy tattoo.
2. KEEP MOISTURIZING
Continue applying moisturizer as needed. It's all about keeping your tattoo from drying out while not overdoing it. Remember, a little goes a long way.
3. DO. NOT. PICK.
We know it’s tempting. Just don’t.
As your tattoo heals, it's going to flake and maybe even scab a little. That’s normal. You don’t want to pick because that can pull out the ink and affect how your tattoo looks when it's fully healed.
Let nature take its course, and those flakes and scabs will fall off when they're ready. It’ll be worth it for your vibrant, healthy ink in the end.
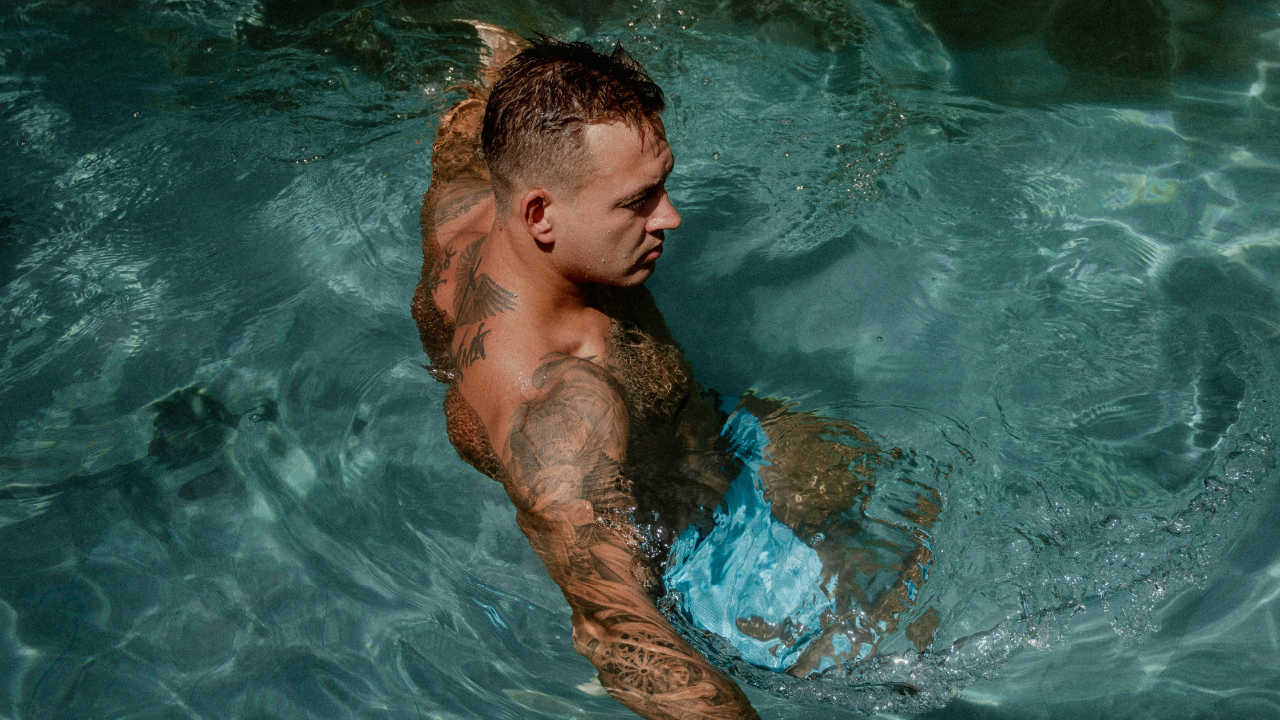
4. STAY ON DRY LAND
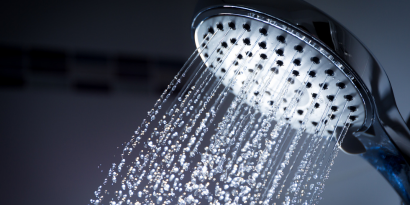
For now, stay away from swimming pools, hot tubs, lakes, and saunas. Baths are also a no-go while your tattoo is healing. Submersion can make your tattoo fade quicker, heal poorly, and up the chances of an infection.
Stick to short showers to keep your tattoo as dry as possible.
5. PROTECT IT FROM THE SUN
The sun is not your healing tattoo’s friend. UV rays can cause fading and damage. For the first 3-4 weeks, keep your tattoo out of the sun to avoid blistering and scarring.
And remember, even after your tattoo has healed, protect it with a high SPF sunblock. Sun protection is a lifelong commitment for your tattoo.
WHILE YOUR TATTOO IS HEALING: WHAT’S NORMAL, WHAT’S NOT
Knowing what to expect and what to watch out for is important when it comes to taking care of your new tattoo.
Most of the time, what you're experiencing is just part of the healing process. But if you notice anything out of the ordinary, it's important to act quickly.
WHAT'S NORMAL:
Redness and Swelling. Right after getting tattooed, it's normal for the area to be red and a bit swollen. It’s a natural reaction to getting inked.
Tenderness and Mild Pain. The area might feel tender, similar to a sunburn. This discomfort should decrease over a few days.
Scabbing and Flaking. Your tattoo will likely scab and flake. It's a good sign; it means your skin is healing. Remember, don't pick at the scabs!
Itchiness. Feeling itchy? That's common too. It usually means the skin is repairing itself. Resist the urge to scratch and keep up with moisturizing.
Oozing. A bit of oozing is normal in the first few days. This could be plasma, blood, or ink. It's just your body doing its thing.
Duller colours. Noticed the colours aren’t as vibrant? Don't worry. A layer of healing skin can make the tattoo look duller, but the colours should pop again once healed.
New Skin. Within one to two weeks, you should see a fresh layer of skin, depending on the tattoo's location.
WHAT'S NOT NORMAL:
Major Swelling or Redness. If the swelling or redness increases or spreads, it could be a sign of infection.
Ongoing or Worsening Pain. Pain that gets worse or doesn't go away, especially with redness and swelling, can be a red flag.
Prolonged Oozing or Bleeding. If your tattoo keeps oozing or bleeding after a couple of days, it might indicate an infection.
Bad Smell or Discolouration. Any bad smell or strange discolouration around the tattoo should be checked out.
Extreme Itching or Rash. Mild itching is normal, but extreme itching or a rash could be an allergic reaction to the ink or aftercare products.
If something feels off and it’s not too serious, don’t hesitate to reach out to your tattooist for advice. But if you're in pain, worried, or the symptoms are severe, go straight to a doctor. Quick action can prevent serious issues.
Remember, it's better to be safe and get it checked than to wait and risk your health!
YOU'VE GOT THIS!
By keeping your body healthy and following our tattoo aftercare instructions, you're giving your tattoo the best chance to heal perfectly. And once it's fully healed, it becomes a testament to your ability to bounce back.
You’ve got this. And we’re here to help. If you ever have questions about your tattoo, don't hesitate to give your artist a call.